
This lesson is made with PSPX9
But is good with other versions.
© by SvC-Design
.gif)
Materialen Download :
Here
******************************************************************
Materials:
©hummel-jutta-mask100.9.jpg .jpg
deco_papillon.pspimage
didier.face02-nov-2012.pspimage
haute_en_couleur1_animabelle.PspSelection
MR_Bijoux en fête.pspimage
SceneryCascade.pspimage
tuile_animabelle.jpg
******************************************************************
Plugin:
Plug-in - Filter Forge - Freepack 4 - Distortions
Plugins - Alien Skin Eye Candy 5 - Impact - Glass
******************************************************************
color palette
:

******************************************************************
methode
When using other tubes and colors, the mixing mode and / or layer coverage may differ
******************************************************************
General Preparations:
First install your filters for your PSP!
Masks: Save to your mask folder in PSP, unless noted otherwise
Texture & Pattern: Save to your Texture Folder in PSP
Selections: Save to your folder Selections in PSP
Open your tubes in PSP
******************************************************************
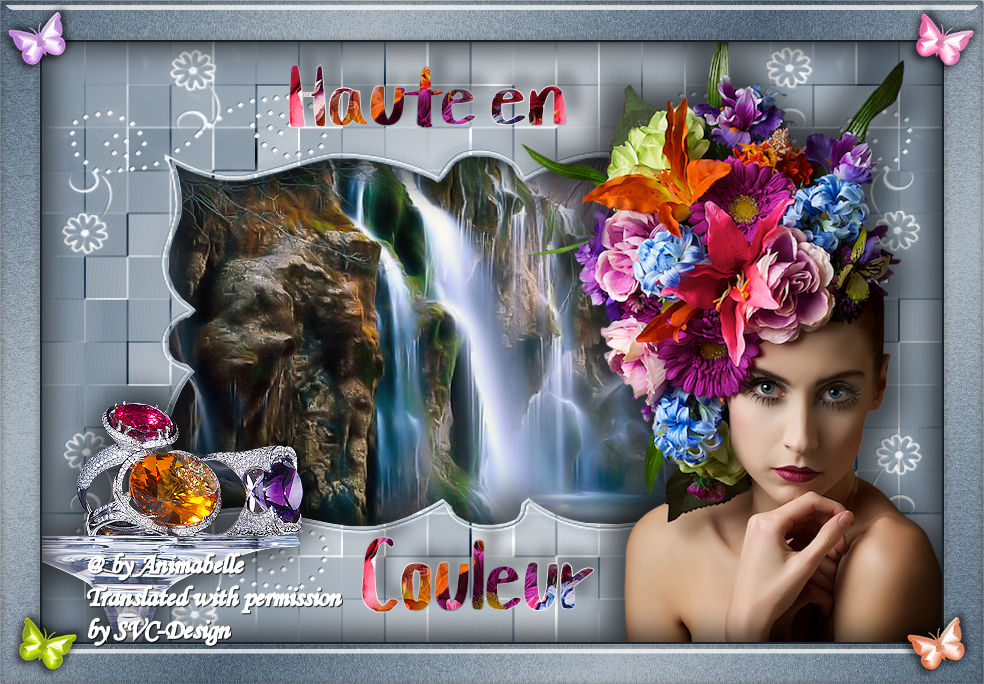
We will start - Have fun!
Remember to save your work on a regular basis
******************************************************************
1.
Open a new transparent image of 900 x 600 pixels
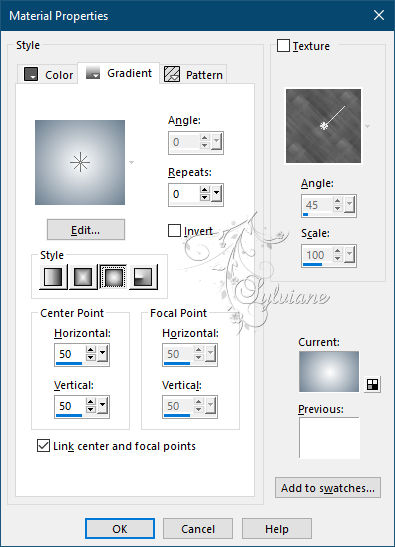
Paint with the following halo gradient
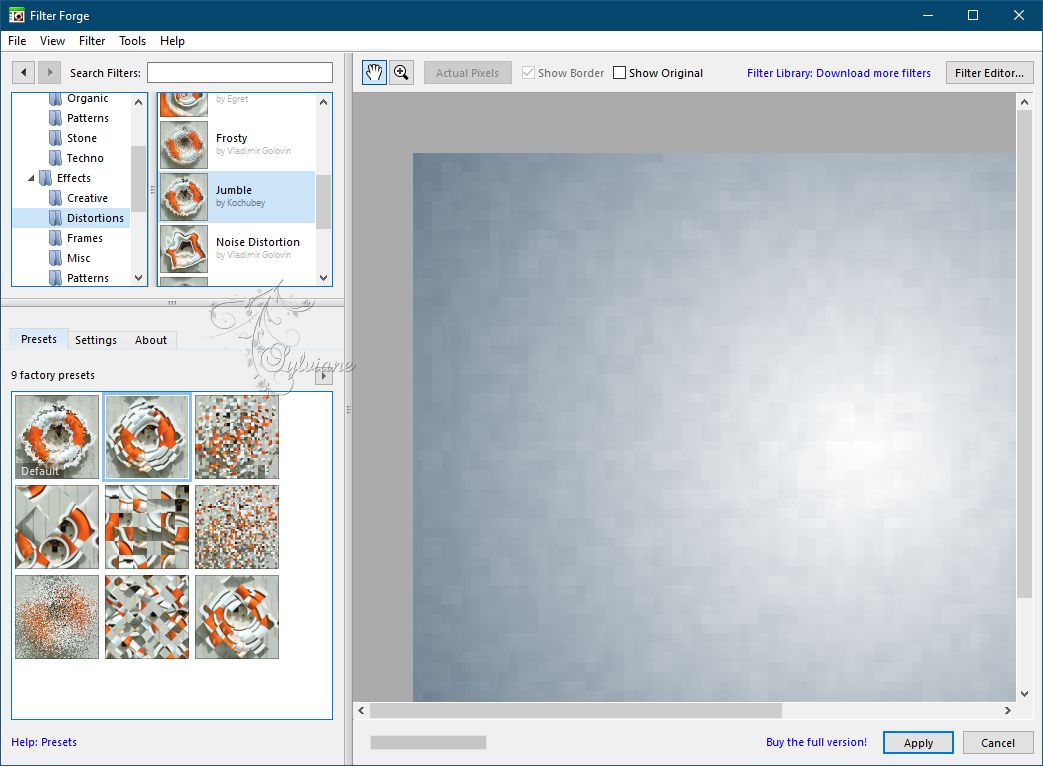
Plug-in - Filter Forge - Freepack 4 - Distortions

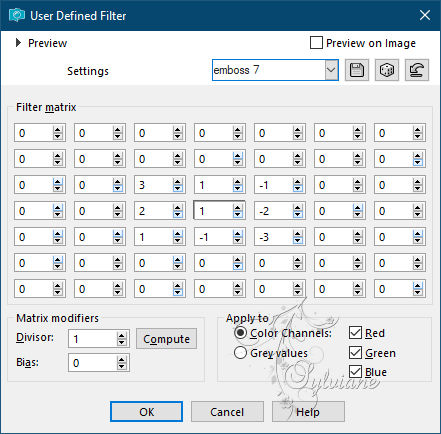
Effects – user defined filter - Emboss 7
2.
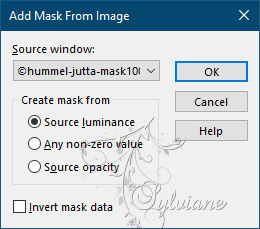
Layer - New mask layer - From an image - ©hummel-jutta-mask100.9.jpg .jpg
Layer - Merge - Merge Group
Effect - 3D effect - Drop shadow
1 / 1 / 100 / 1 / Color #2e4c66
Layer - New Raster Layer
Paint with white color
Layer - Arrange - Move Down
3.
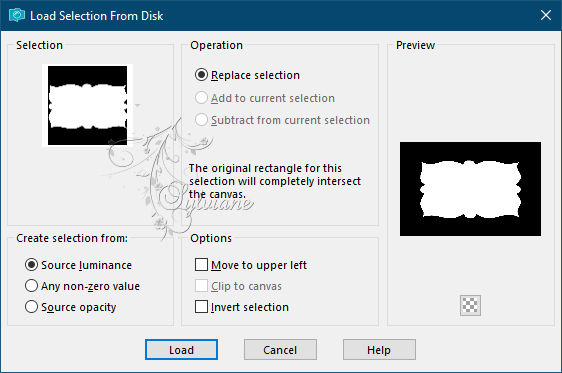
Selections - Load / Save - Load selection from disk - haute_en_couleur1_animabelle.PspSelection
Selections – Promote selections to layer
Paint the selection with the color #647a8c
4.
Open SceneryCascade.pspimage
Window / Duplicate
Close the original so as not to work on the original
You have 3 layers
Activate the middle one (raster 2)
Image - Mirror – mirror Horizontal
Edit – Copy
Edit - Paste as new layer
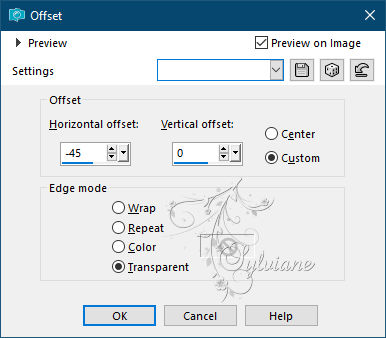
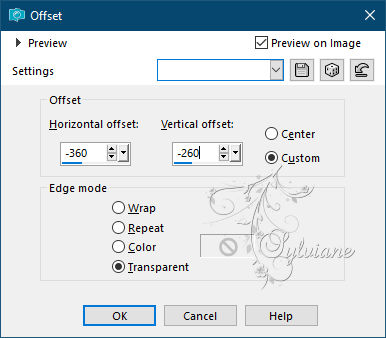
Effects - Image Effects - Offset
Selections - Invert
Edit - Cut
Effect - 3D effect - Drop shadow
15 / 15 / 60 / 40 – color:000000
repeat négatif - 15 / - 15
Selection - Select None
5.
Open didier.face02-nov-2012.pspimage
Edit – Copy
Edit - Paste as new layer
Image / Resize to 90% (Resize all layers: unchecked)
Effects - Image Effects - Offset
Effect - 3D effect - Drop shadow
15/15/60/40 color:#000000
repeat negative with - 15 / - 15
6.
Open MR_Bijoux en fête.pspimage
Window / Duplicate
Close original
Click on the small blue paperclip with the left of your mouse
to remove the function (toggle the linking of layers)
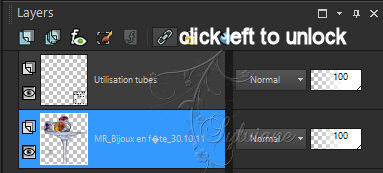
Remove the top layer
Then delete the signature (tubed by Maryse) with the eraser or the association tool
Image - Mirror – mirror Horizontal
7.
Edit – Copy
Edit - Paste as new layer
Image - Resize to 50%
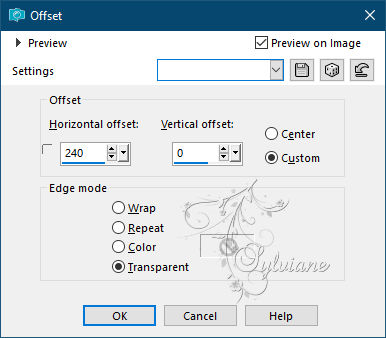
Effects - Image Effects - Offset
Effect - 3D effect - Drop shadow
- 10/10/60/40 color:#000000
Repeat negative with 10 / - 10
Adjust – scharpness – scharpen
8.
Image - Add Borders - 2 pixels - color # 2e4c66
Image - Add Borders - 40 pixels – color:#ffffff
Select the border with the magic wand
Selections – Promote selections to layer
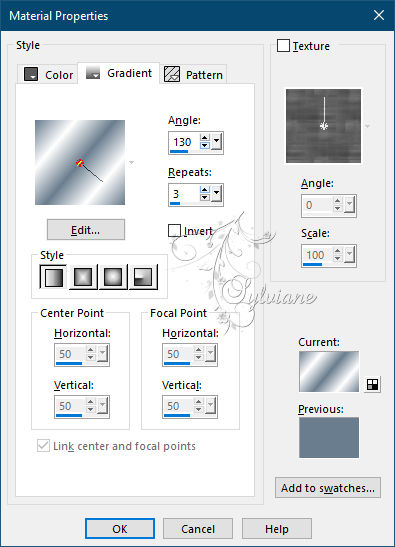
Fill with linear gradient
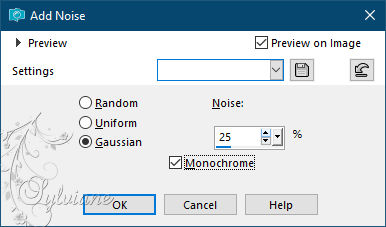
Adjust - Add / Remove Noise - Add Noise
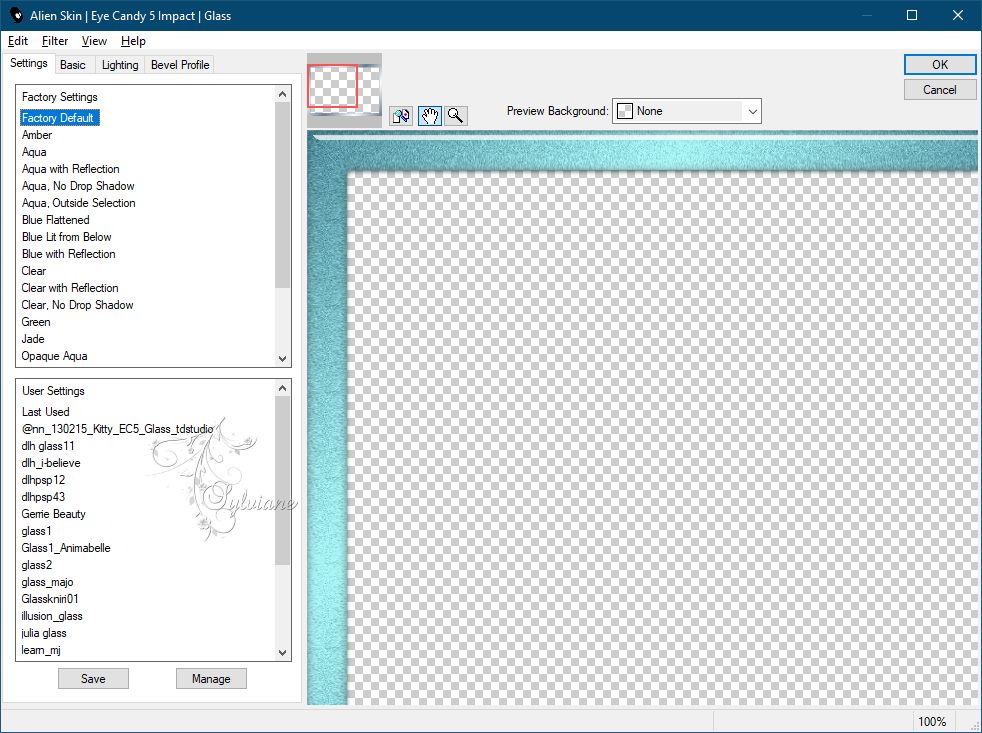
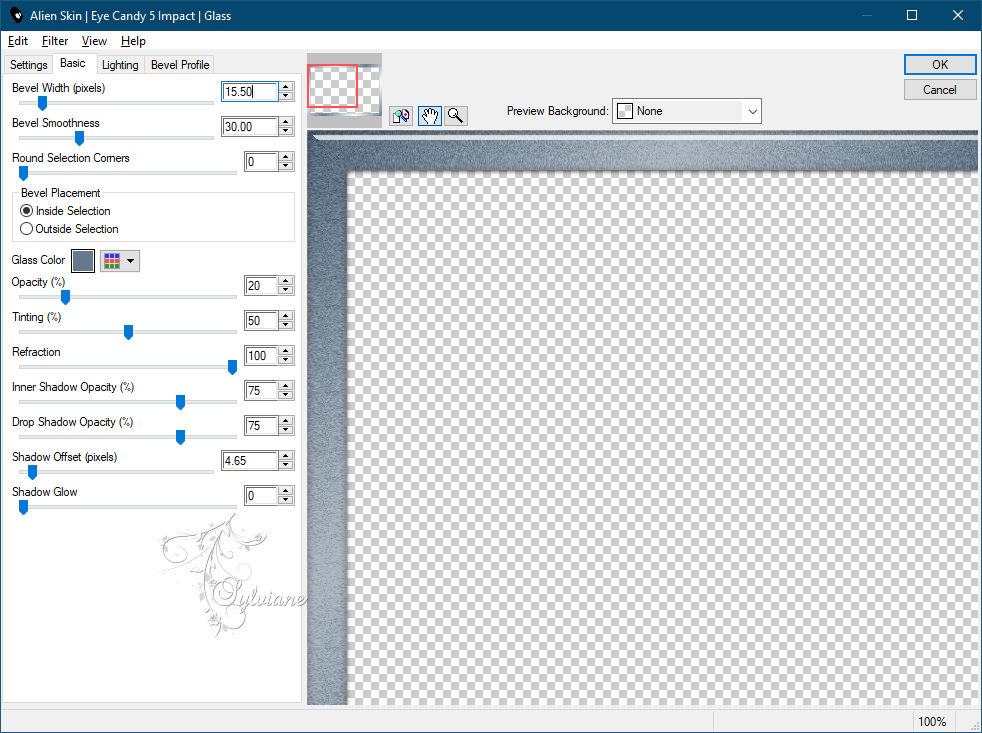
Plugins - Alien Skin Eye Candy 5 - Impact - Glass
Effect - 3D effect - Drop shadow
- 12/10/60/40 color:#000000
repeat negative with 10 / - 12
Selection - Select None
9.
Open deco_papillon.pspimage
Edit – Copy
Edit - Paste as new layer
Image - Resize to 80%
Duplicate this butterfly layer 3 times (that makes 4 in total)
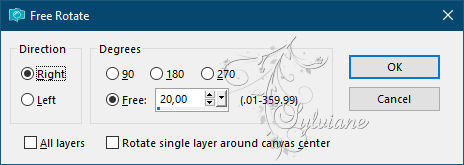
On the first layer, at the top of the stack do:
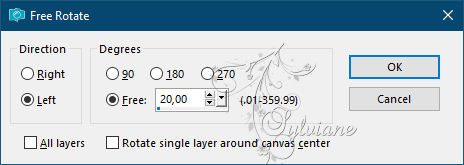
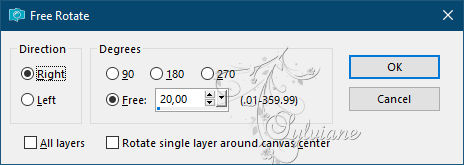
Image - Free rotation
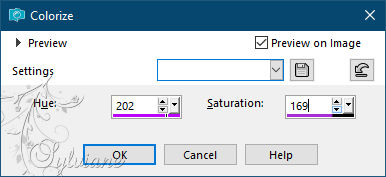
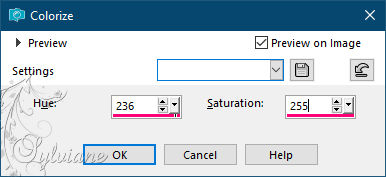
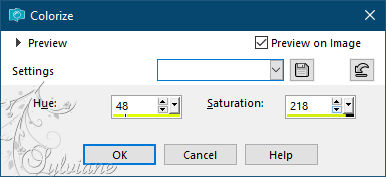
Adjust - Hue and saturation / Colorize
Adjust – scharpness – scharpen
Position the small butterfly at the top left in the corner of the frame (see final result)
10.
Activate the layer below
Image - Free rotation - As above but check: Right
Adjust - Hue and saturation / Colorize
Adjust – scharpness – scharpen
Position the small butterfly at the top right in the corner of the frame (see final result)
11.
Activate the layer below
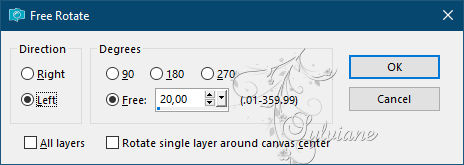
Image - Free rotation - As above but check: Left
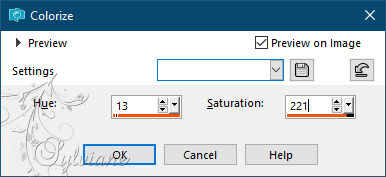
Adjust - Hue and saturation - Colorize
Adjust – scharpness – scharpen
Position the small butterfly at the bottom right in the corner of the frame (see final result)
12.
Activate the layer below (the 4th)
Image - Free rotation - As above but check: Right
Adjust - Hue and saturation - Colorize
Adjust – scharpness – scharpen
Position the small butterfly at the bottom left in the corner of the frame (see final result)
13.
Close the 2 layers at the bottom of the layer stack
Stay positioned on one of the top layers
Layers - Merge - Merge visible layers
Open the bottom layers again while staying on the top one
Adjust – scharpness – scharpen
Effect - 3D effect - Drop shadow
- 4/4/60/10 color:#000000
repeat with 4 / - 4
14.
Activate the Text tool
Show foreground color # 15212b
Put in the background the texture that I made for you
Line thickness at 1
Write the same words as me or those of your choice.
I used the font: Happy size 55
Effect - 3D effect - Drop shadow
- 13/13/40/20 color:#000000
15.
put your watermark on it
Layers - Merge All (Flatten)
Save as JPEG
Back
Copyright Translation © 2021 by SvC-Design